Founding a Federation
- Every guardian should have the same version of Fedimint installed and the Guardian UI open.
- Agree on the federation name, guardian count, enabled modules, and which guardian will set the global config.
Founding a federation is the one-time ceremony where guardians configure the federation, exchange setup codes, and run distributed key generation (DKG). When the ceremony finishes, the federation is live and you can access the Guardian UI.
1. Set up your guardian
Only one guardian should set the global config. That "leader" role only exists during setup so someone can enter the federation settings. After founding, the leader has no special privileges over the other guardians. Use the tabs in each section to switch between the leader and non-leader flow.
- Leader Guardian
- Other Guardians
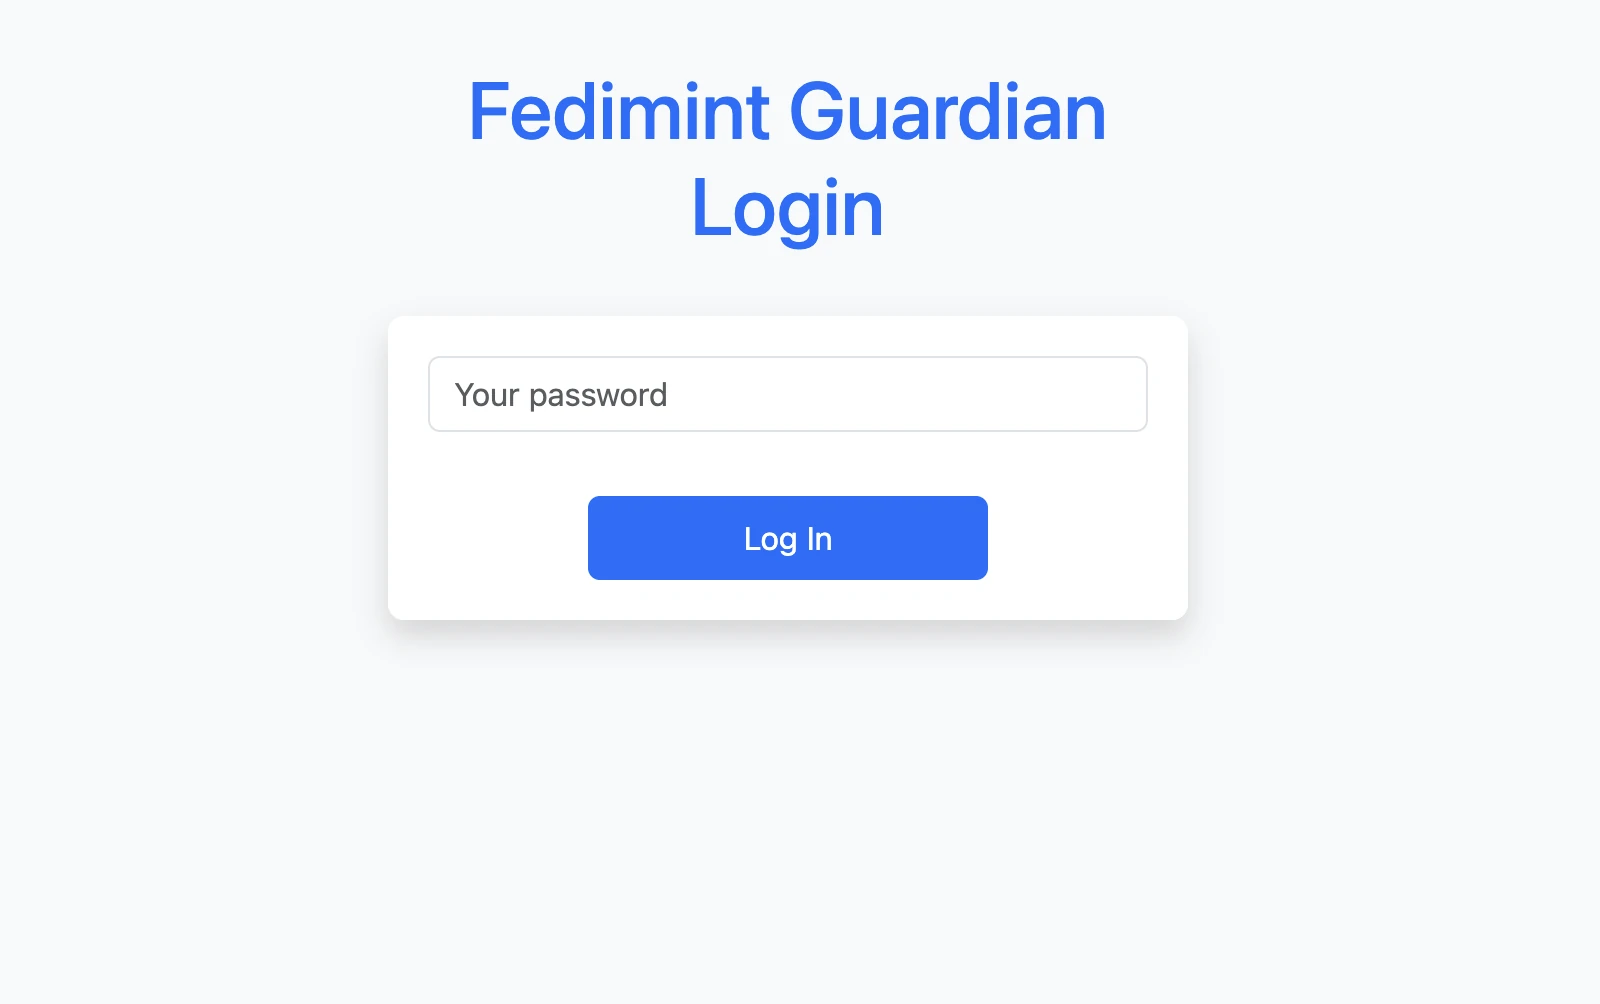
Choose your guardian name and password
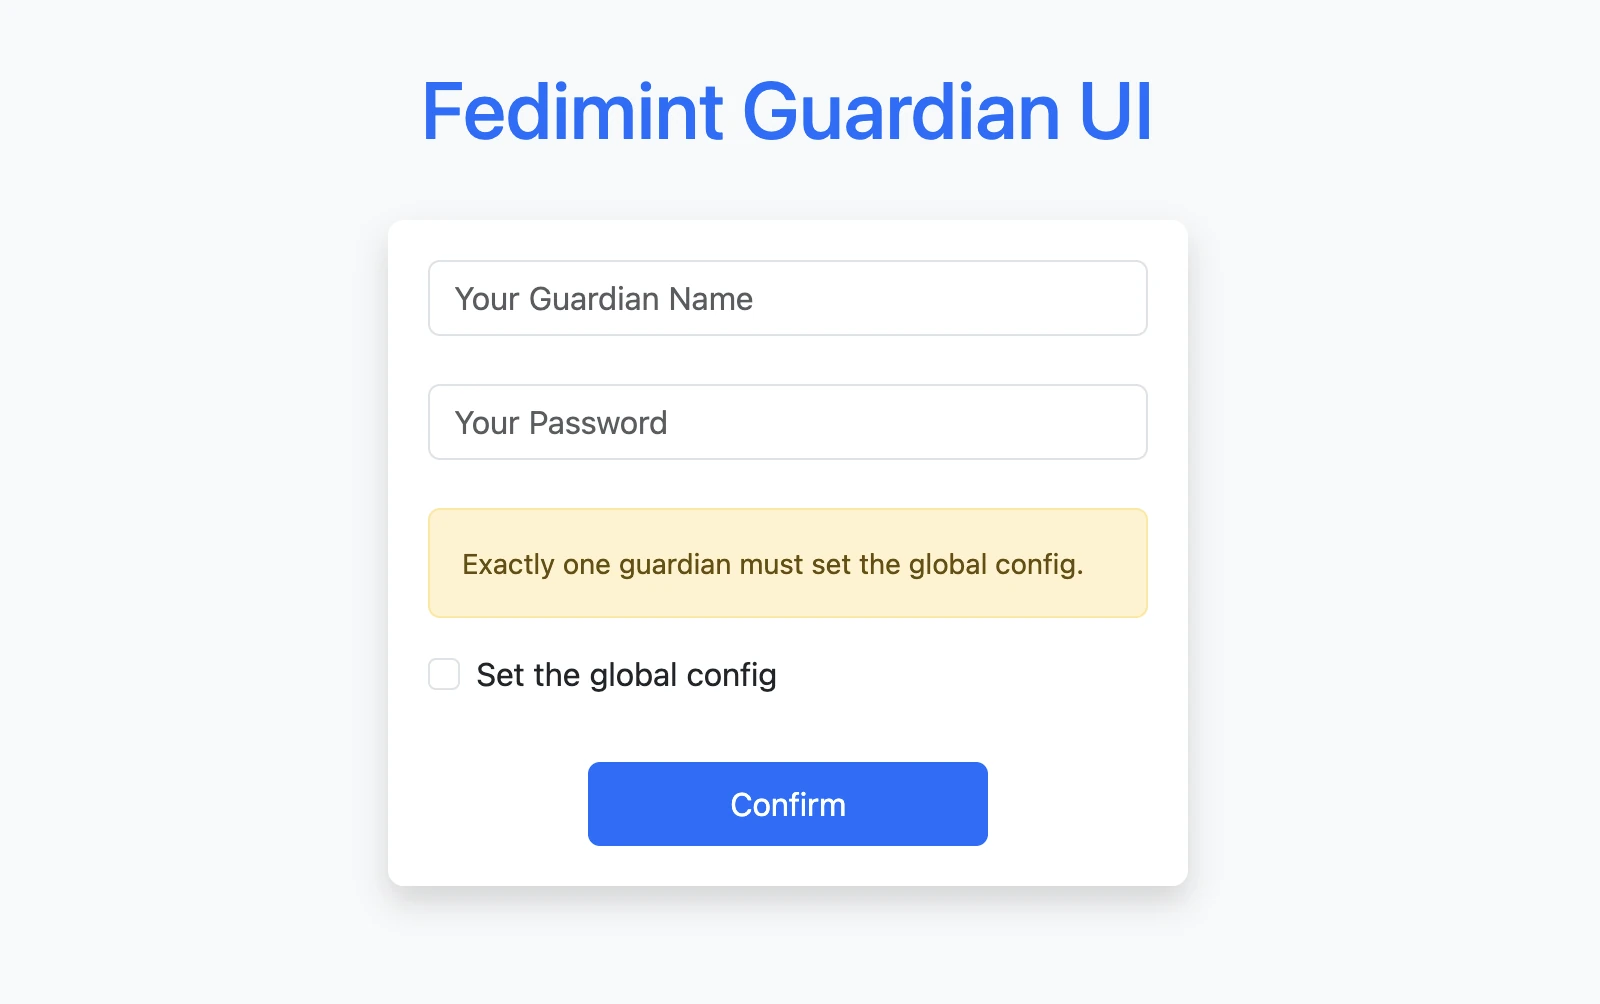
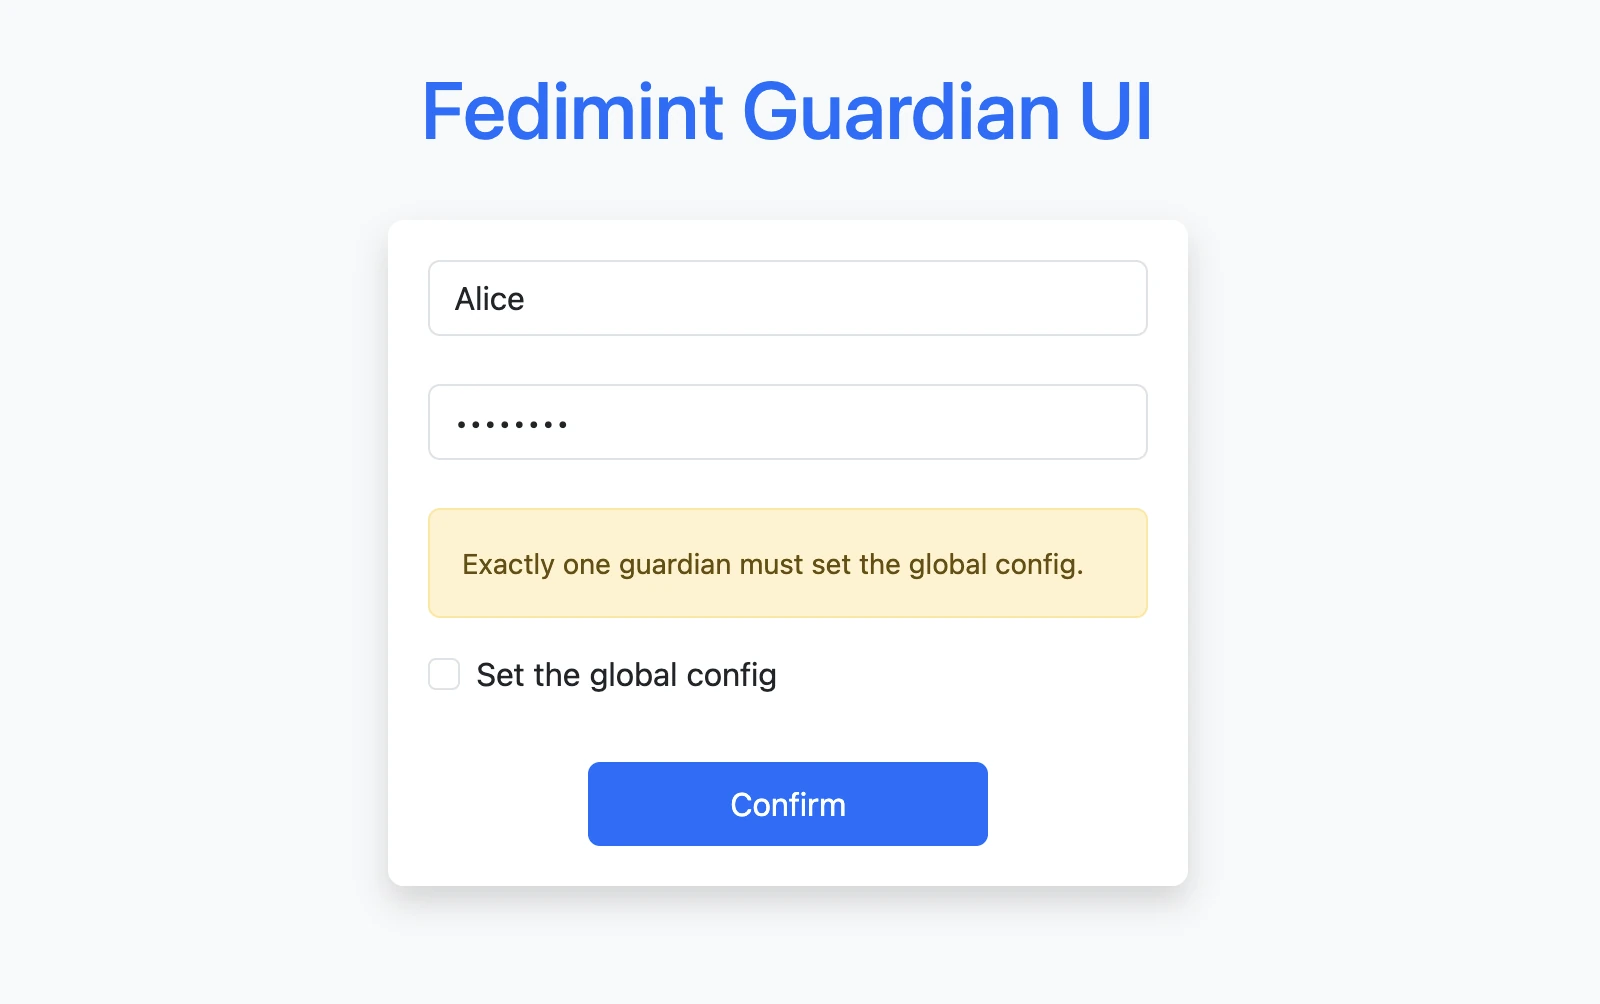
Choose a guardian name and password. The name identifies the guardian to the other guardians and users. The password protects access to the Guardian UI and is used to encrypt your guardian backup.
Set the global config

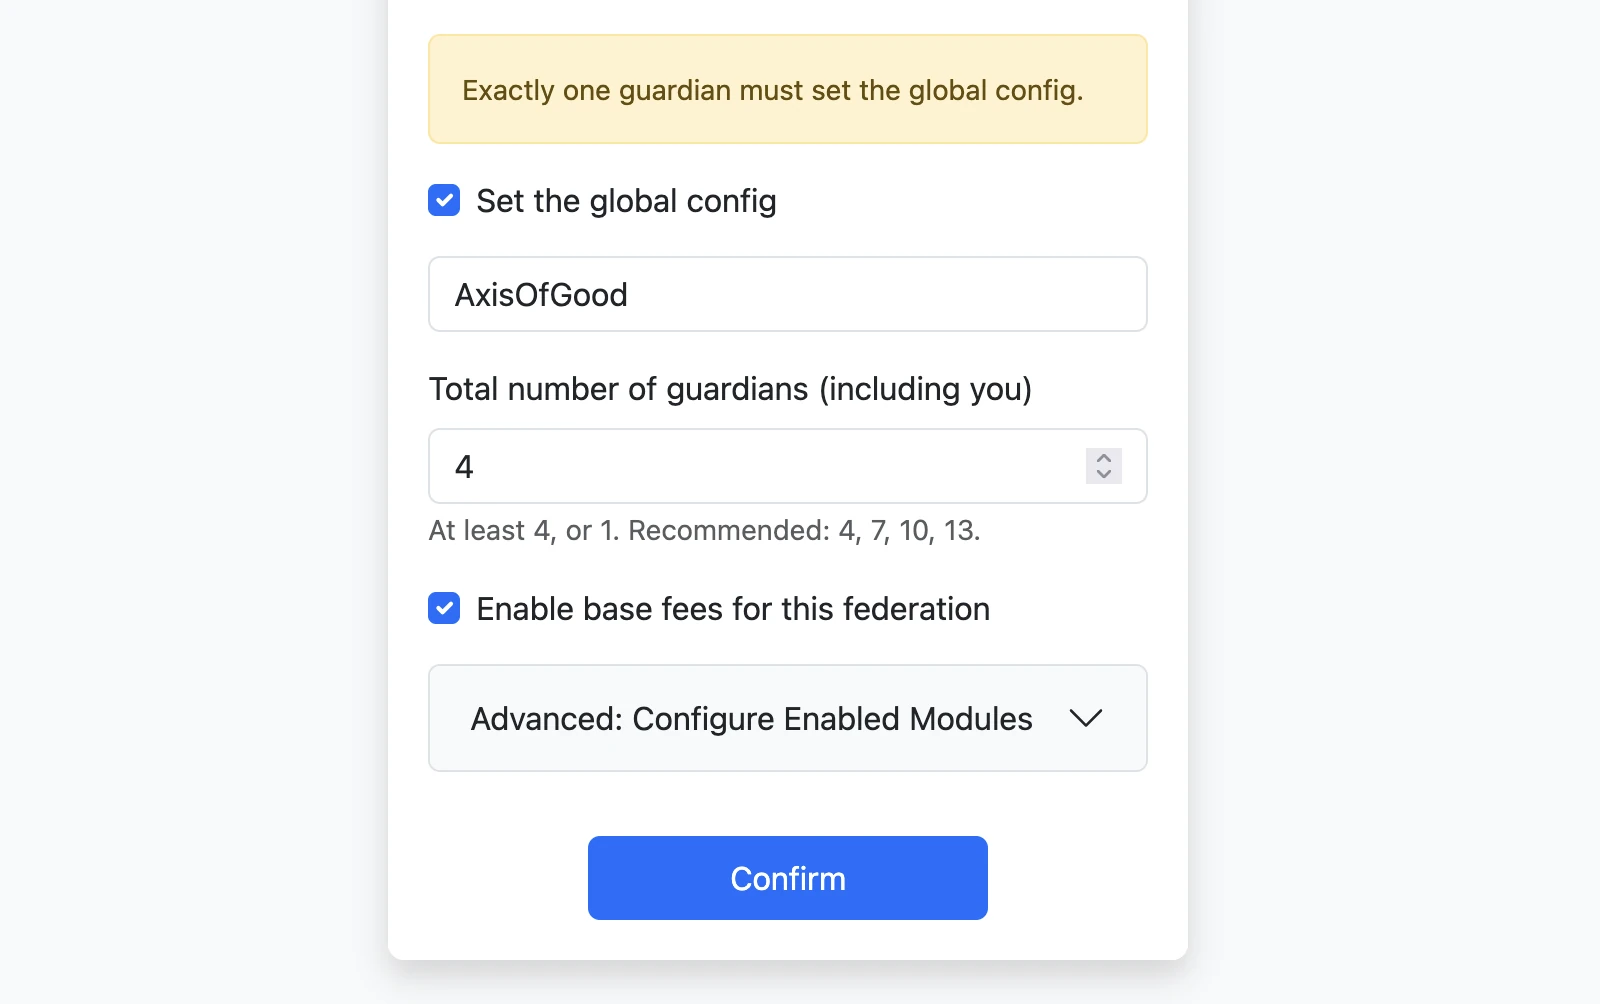
As the leader, check Set the global config and enter the federation settings.
- Federation name is the human-readable name of the federation shown in the Guardian UI and shared with users.
- Total number of guardians must include you. Use the full size of the ceremony, not just the guardians who have connected so far.
- Base fees are enabled by default and discourage spam. The typical fee is only 1–3 sats per transaction regardless of the value transferred. We recommend keeping them enabled; this setting cannot be changed later.
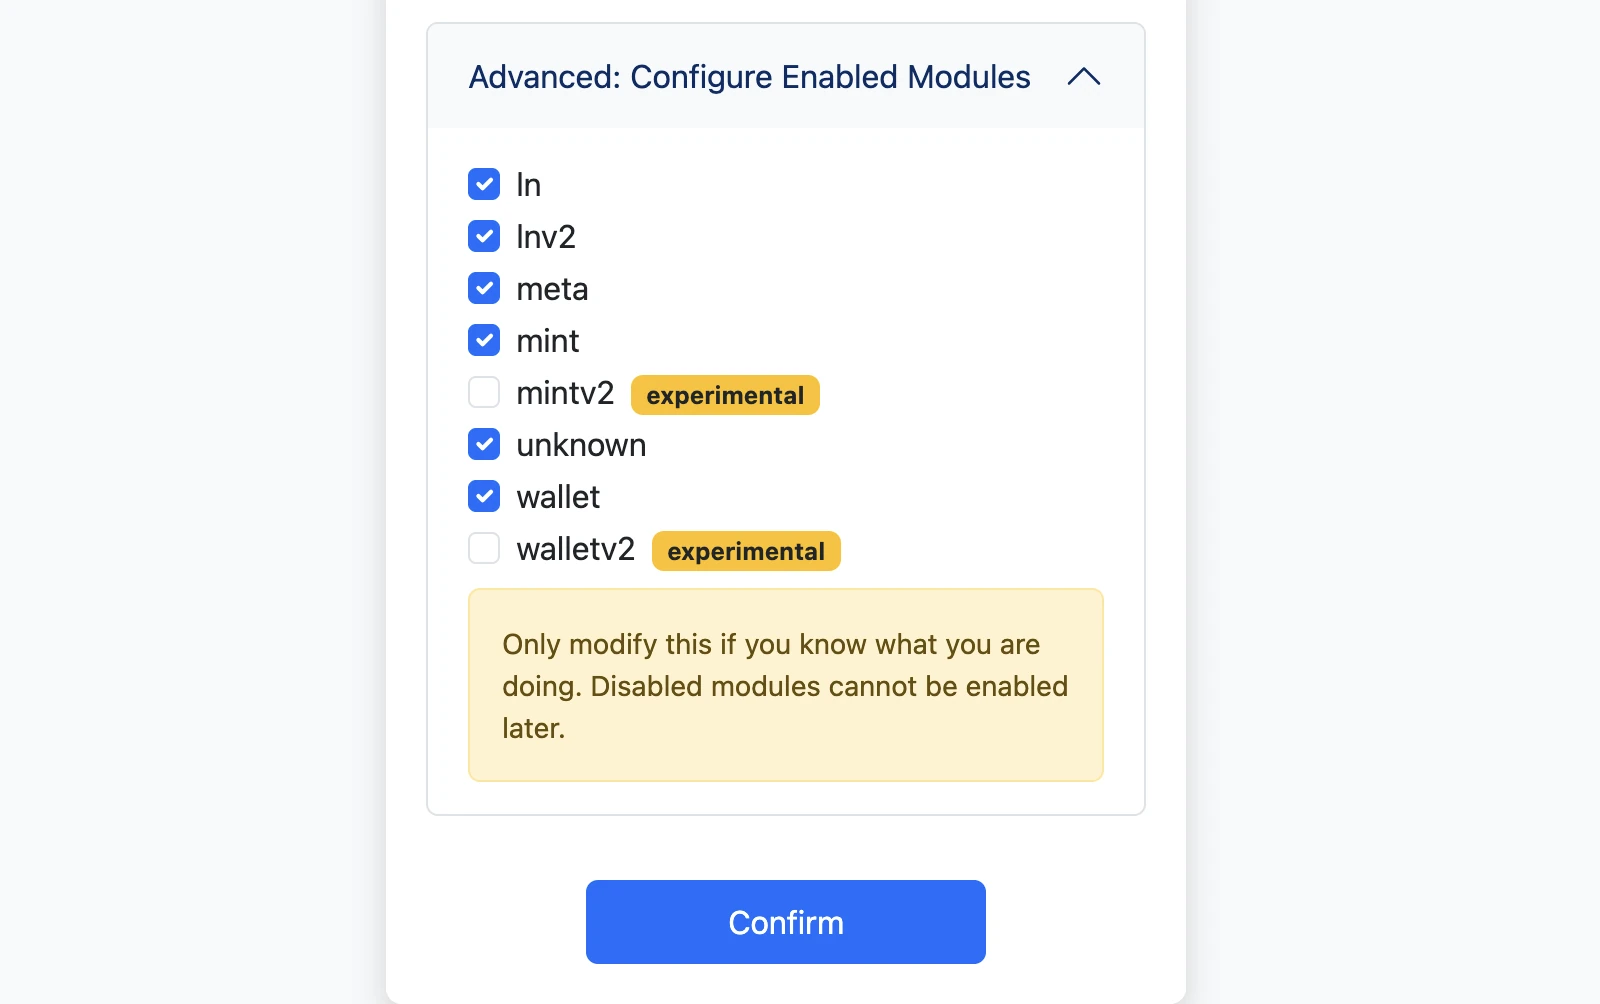
- Modules define what the federation can do. Only modify this if you know what you are doing. Disabled modules cannot be enabled later.
The guardian count must be either 1 or at least 4. For every 3 guardians, the federation can tolerate 1 malicious or offline guardian — so 4 tolerates 1, 7 tolerates 2, 10 tolerates 3, and so on.
Confirm and log in
Click Confirm to store your guardian configuration, then log in with the password you just created.
Choose your guardian name and password

Enter a guardian name and password, then leave Set the global config unchecked. Only the temporary leader should enable it.
Confirm and log in
Click Confirm to create the guardian locally, then log in with the password you just created. At this point you have not joined the federation yet; you have only created your guardian identity for the ceremony.
2. Connect the guardians
Exchange setup codes in an authenticated channel where every guardian can verify who sent them.
- Leader Guardian
- Other Guardians
Review the federation settings
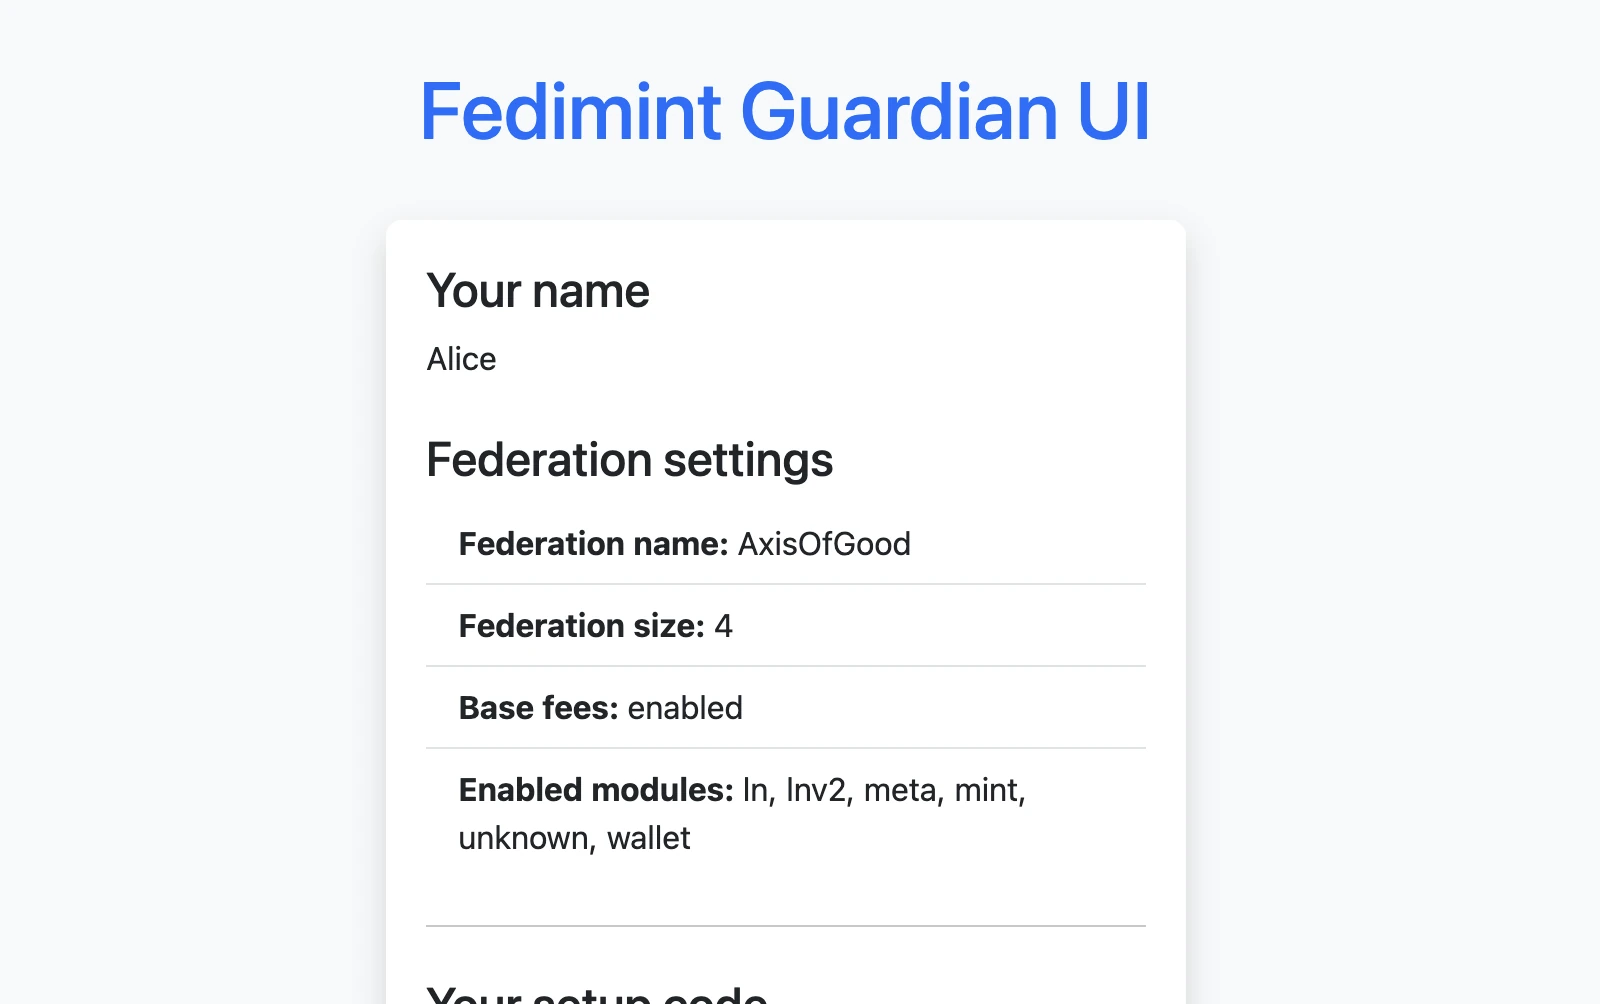
The leader sees the full federation configuration immediately after logging in. Review it one last time before the rest of the guardians begin confirming it.
If the federation name, guardian count, or modules are wrong, restart the ceremony.
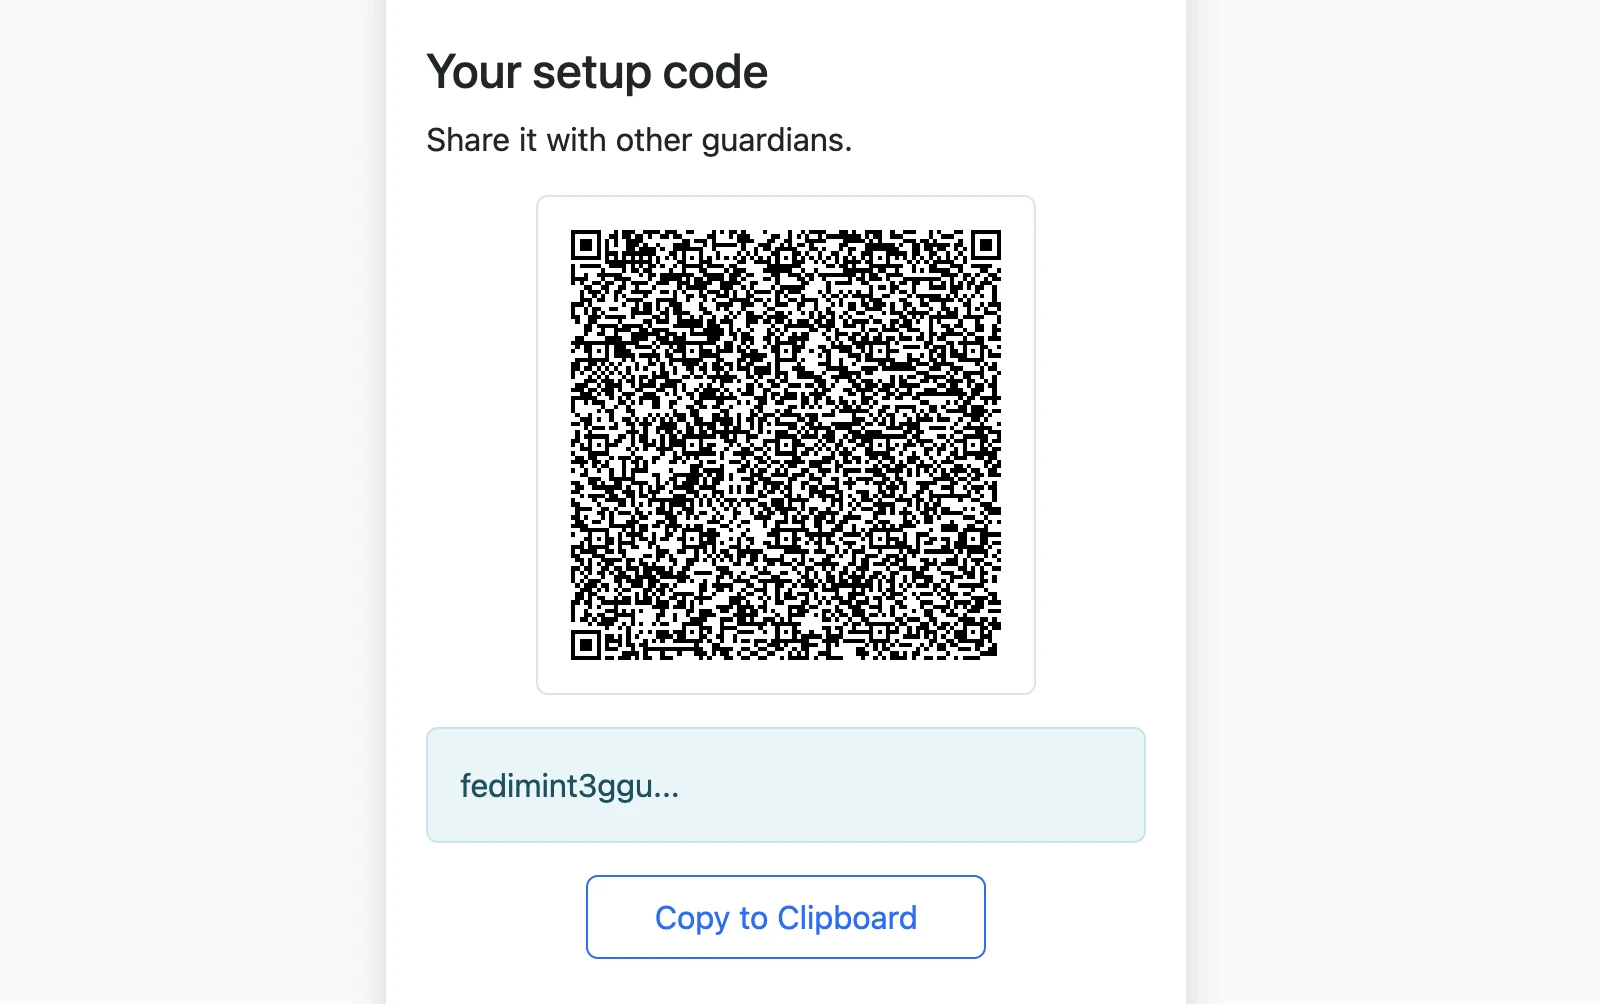
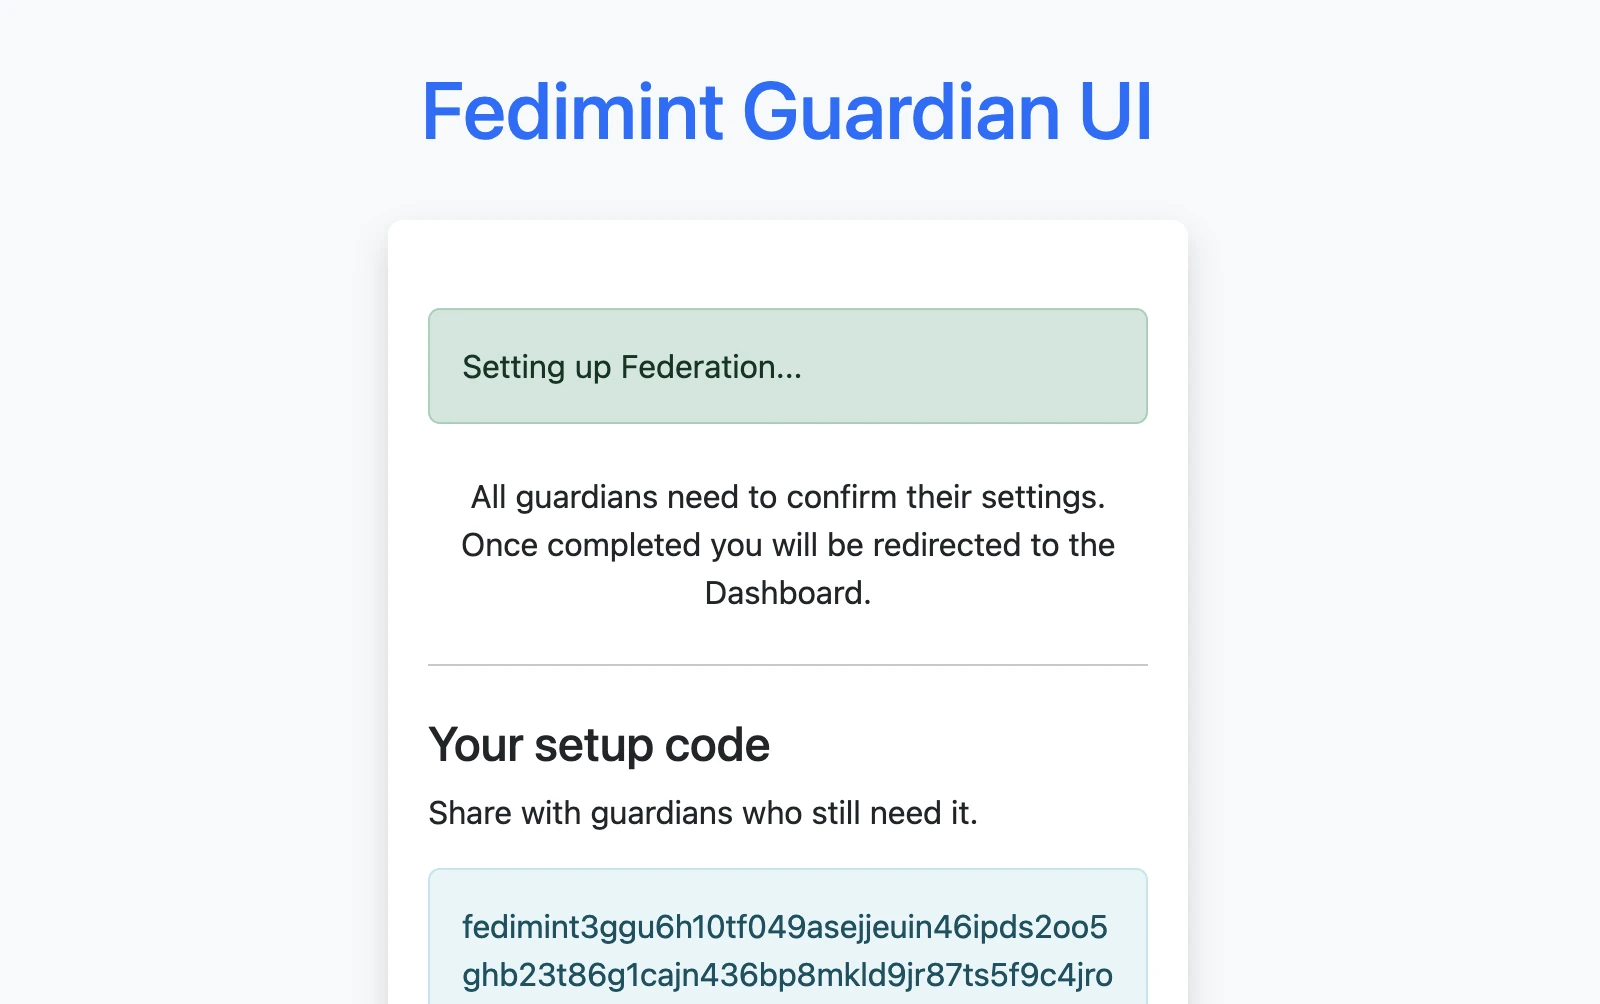
Your setup code
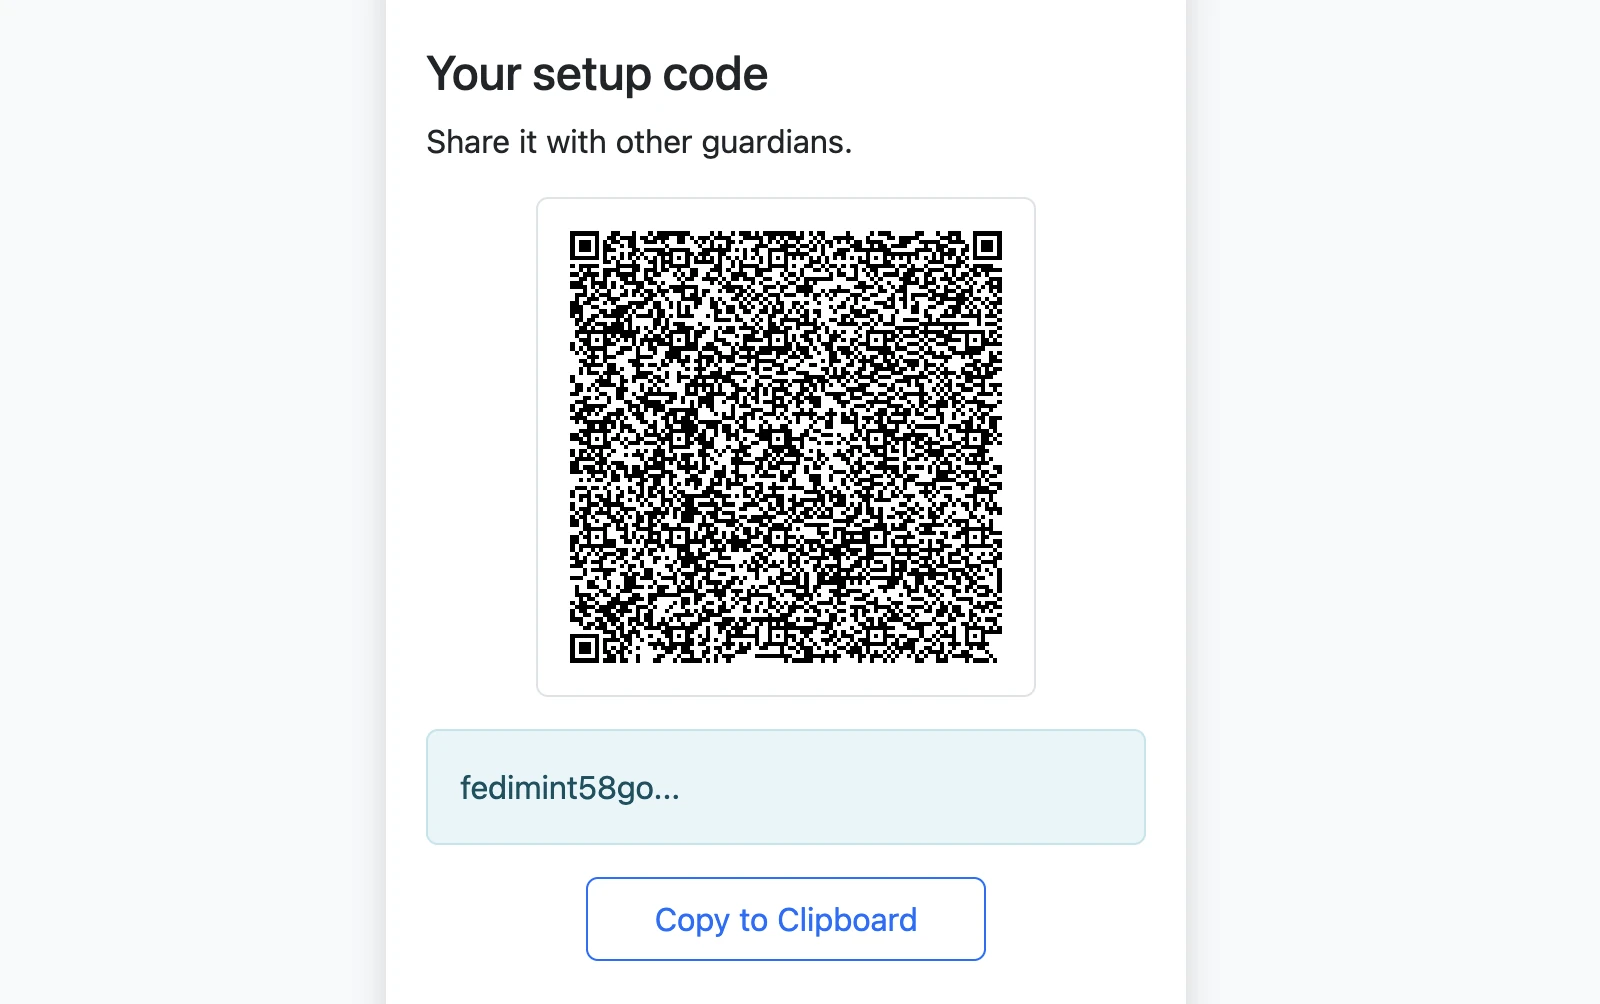
Share your setup code with every other guardian. The setup code does not contain your password or private keys.
Add every other guardian
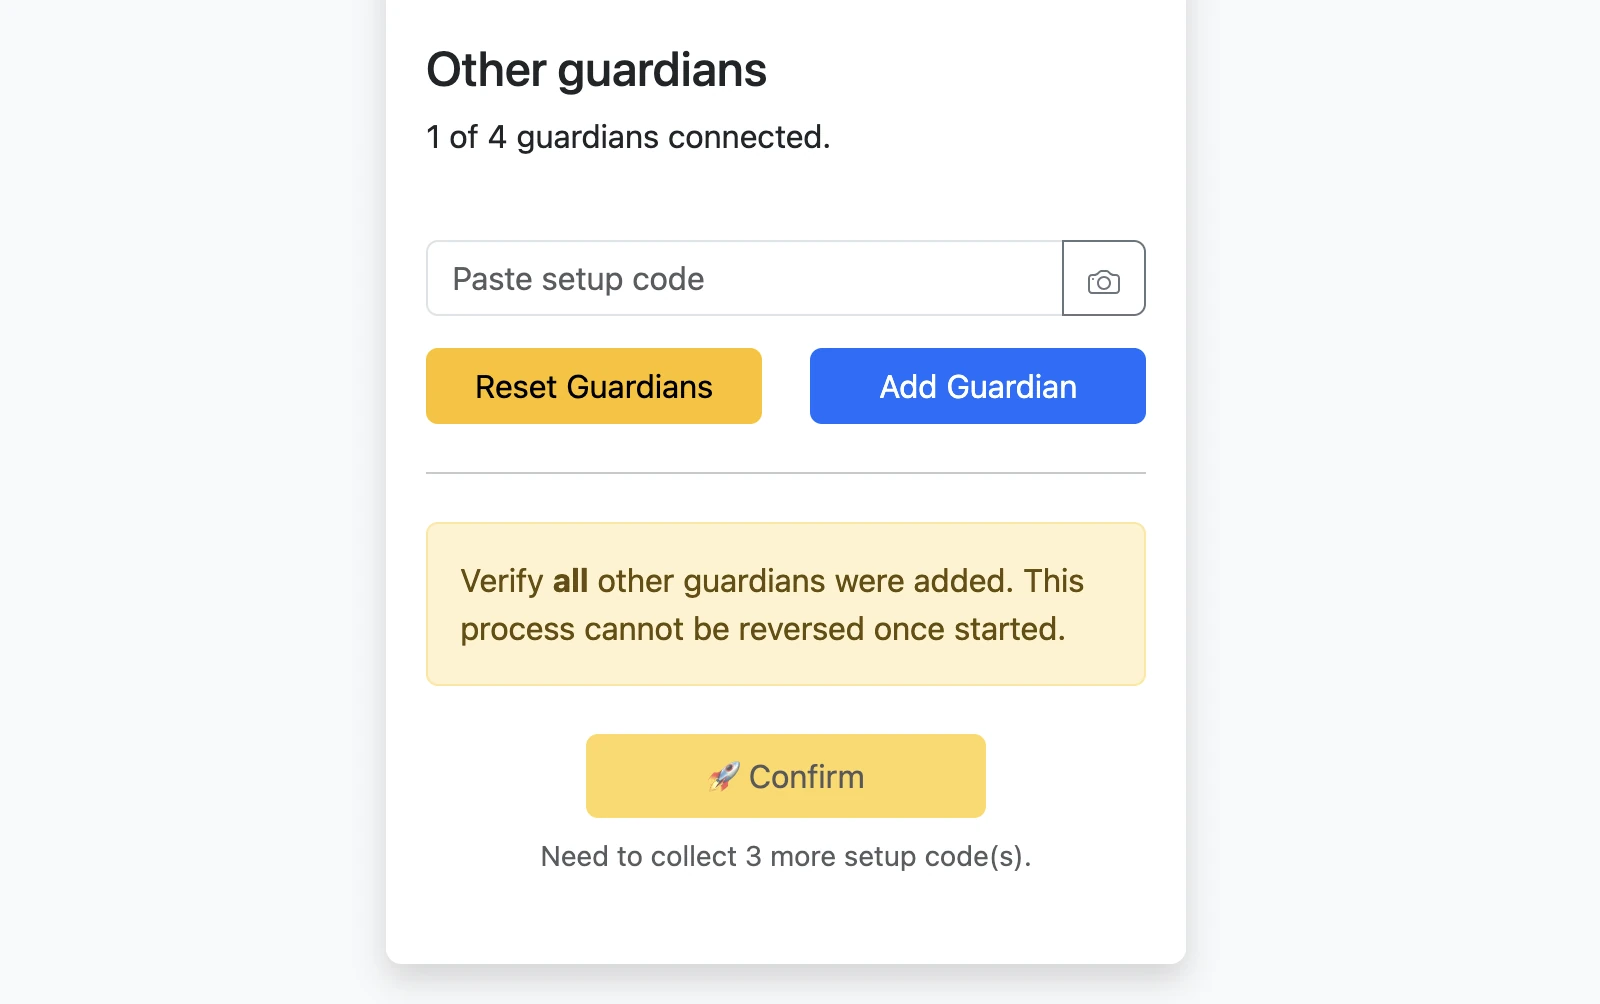
Paste or scan the setup code of each other guardian. The counter above the list shows how many guardians are connected.
Paste the leader's setup code and verify the settings
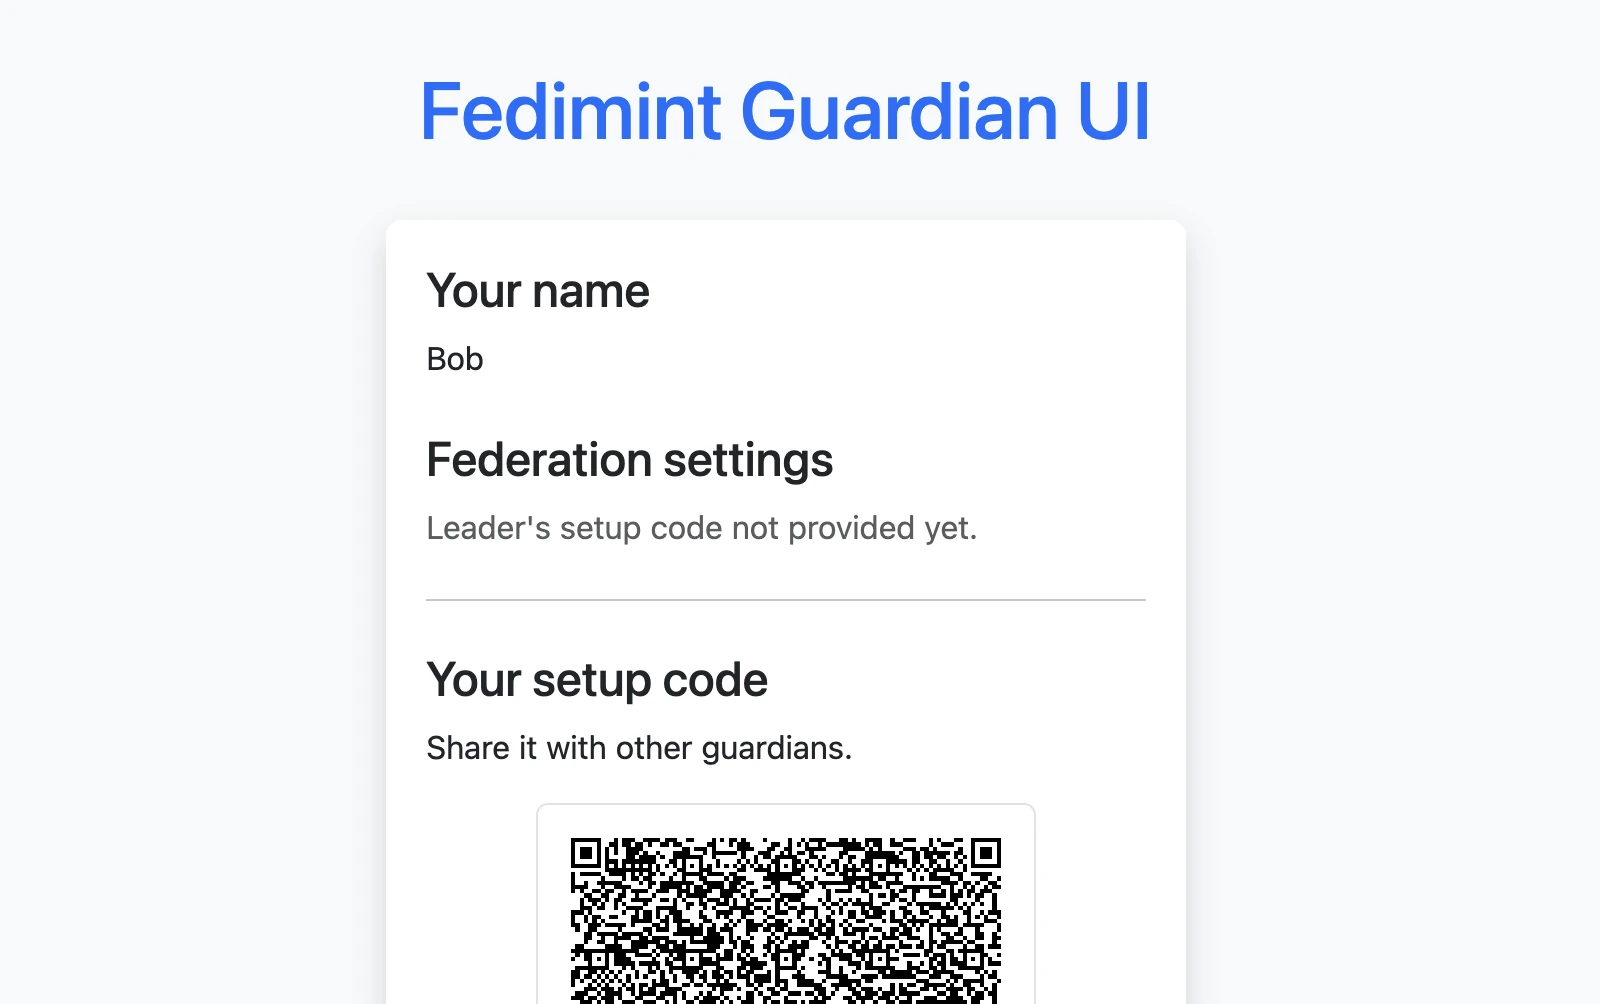
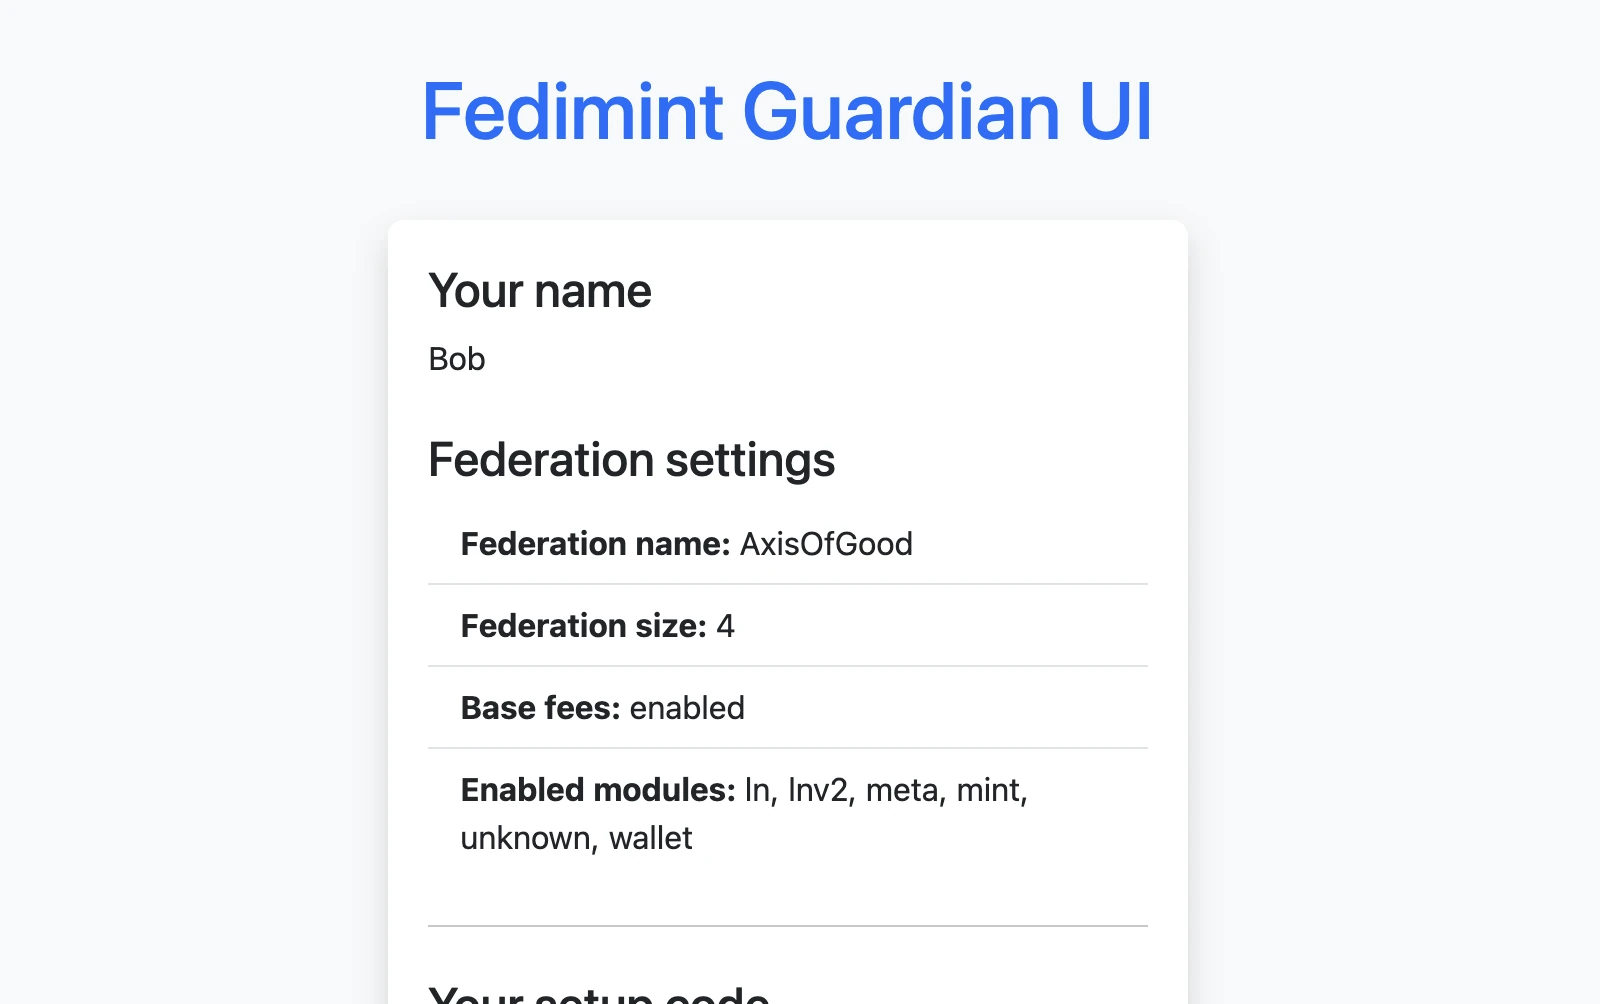
Before you add the leader, the federation settings section is blank. Once the leader's setup code is added, the federation name, guardian count, base-fee setting, and enabled modules appear. Verify that these match what your group agreed on before continuing.
Your setup code
After you log in, share your own setup code with the other guardians so they can add you to their lists.
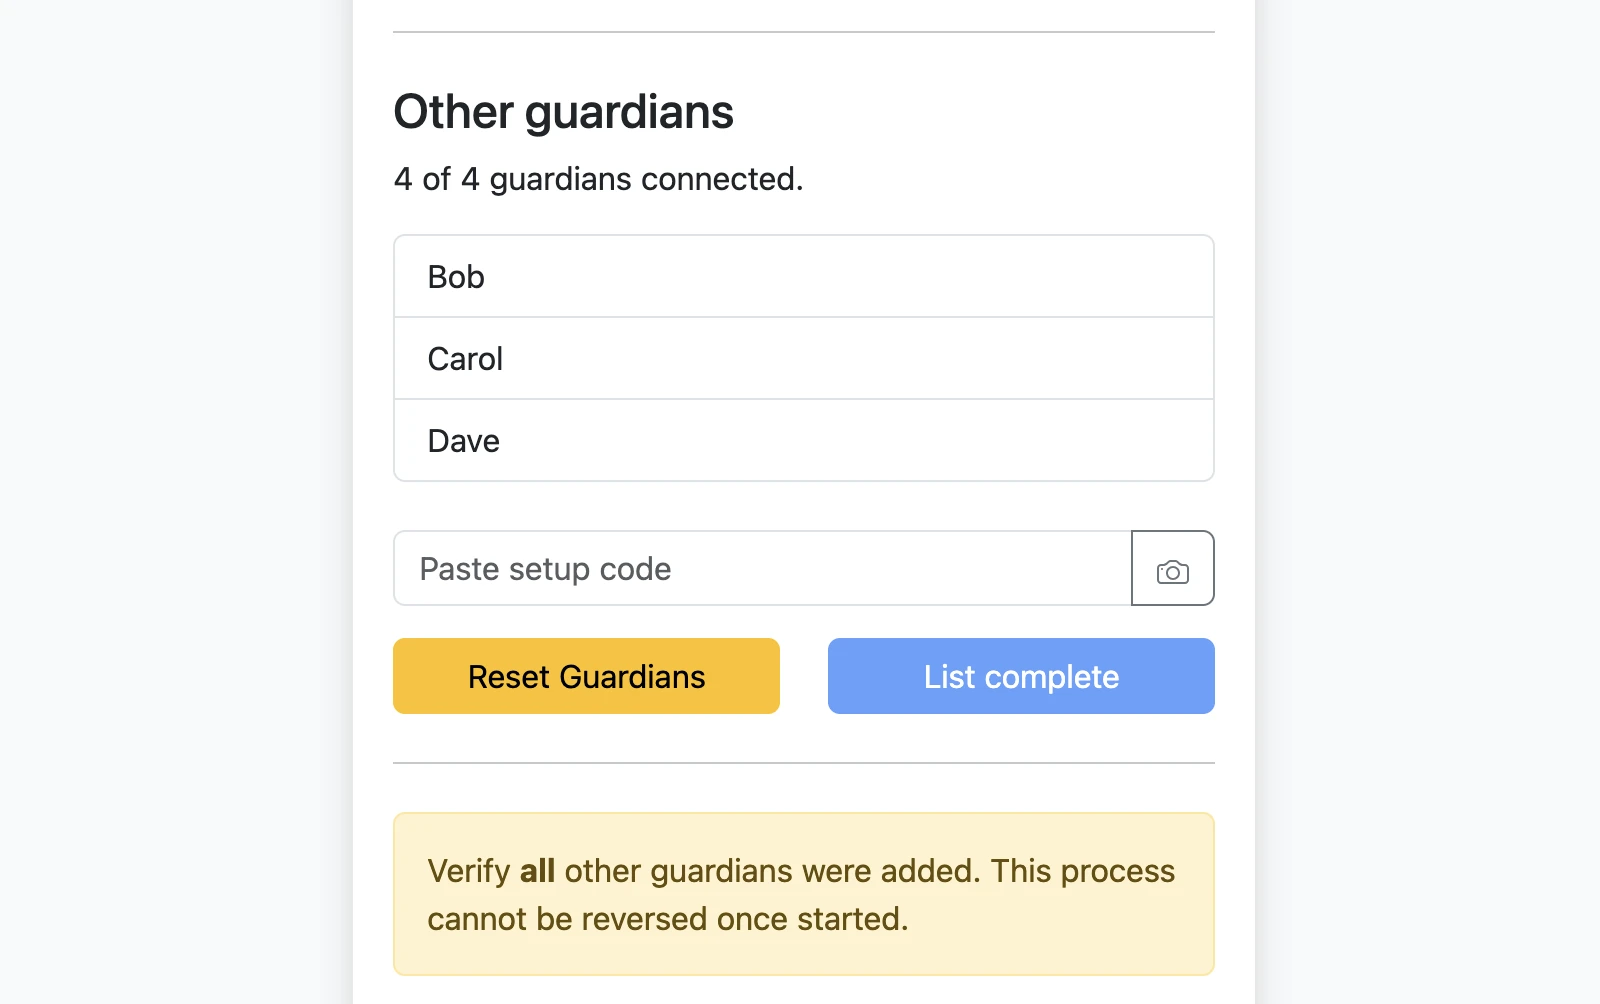
Add every other guardian
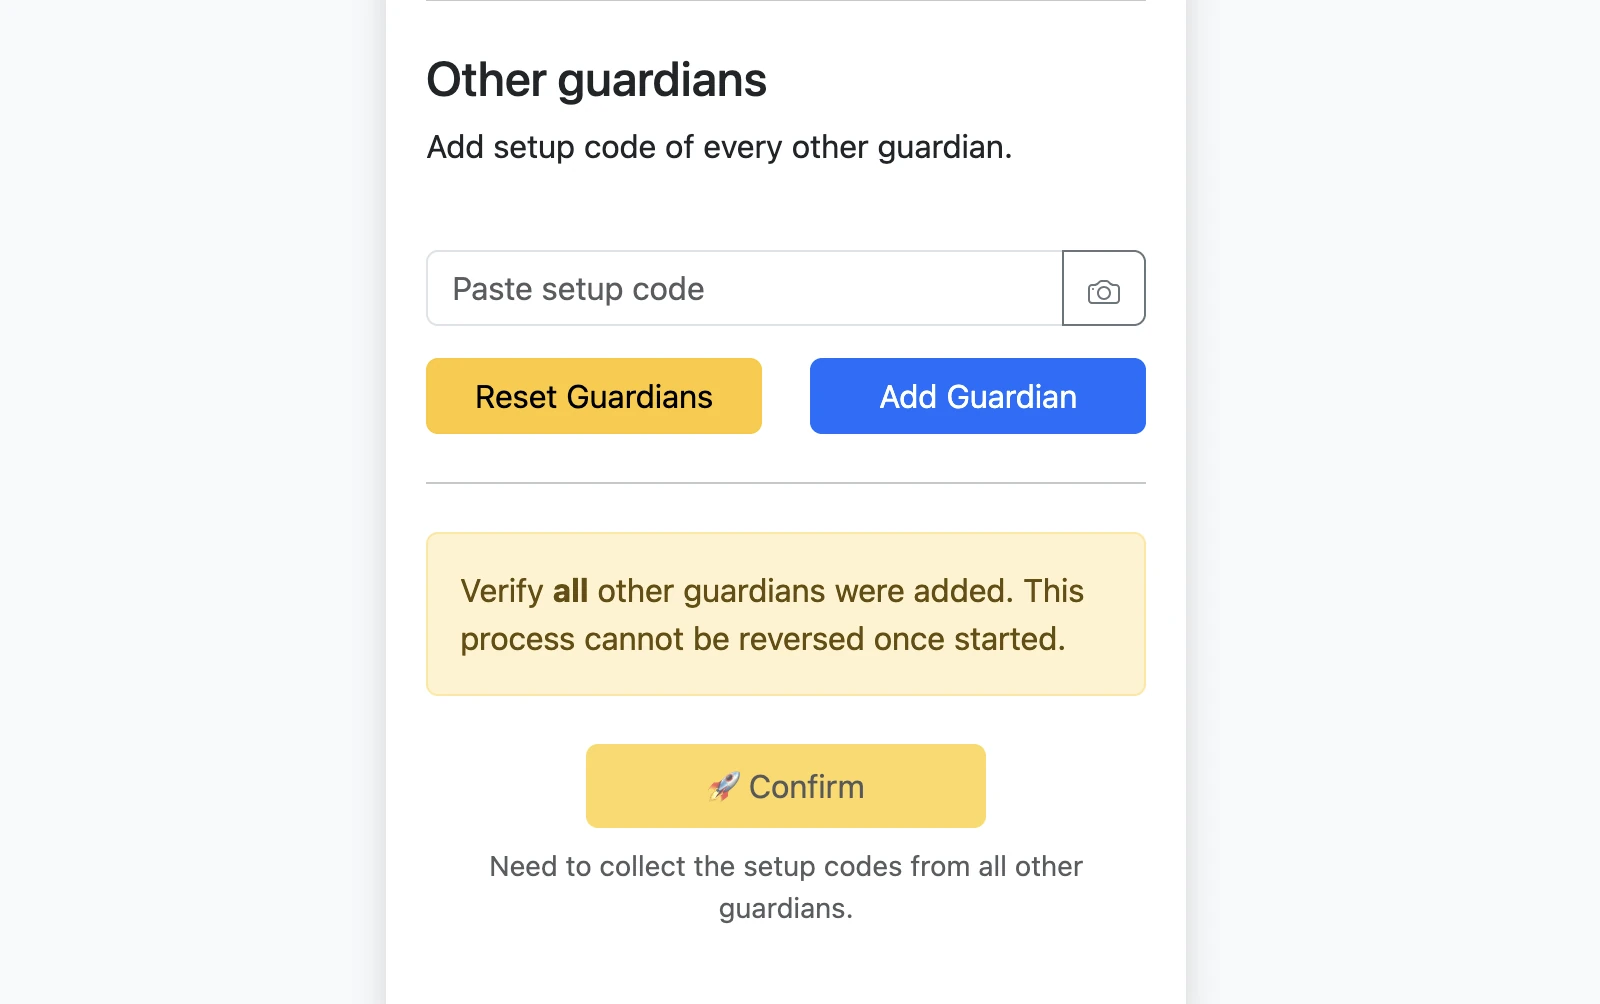
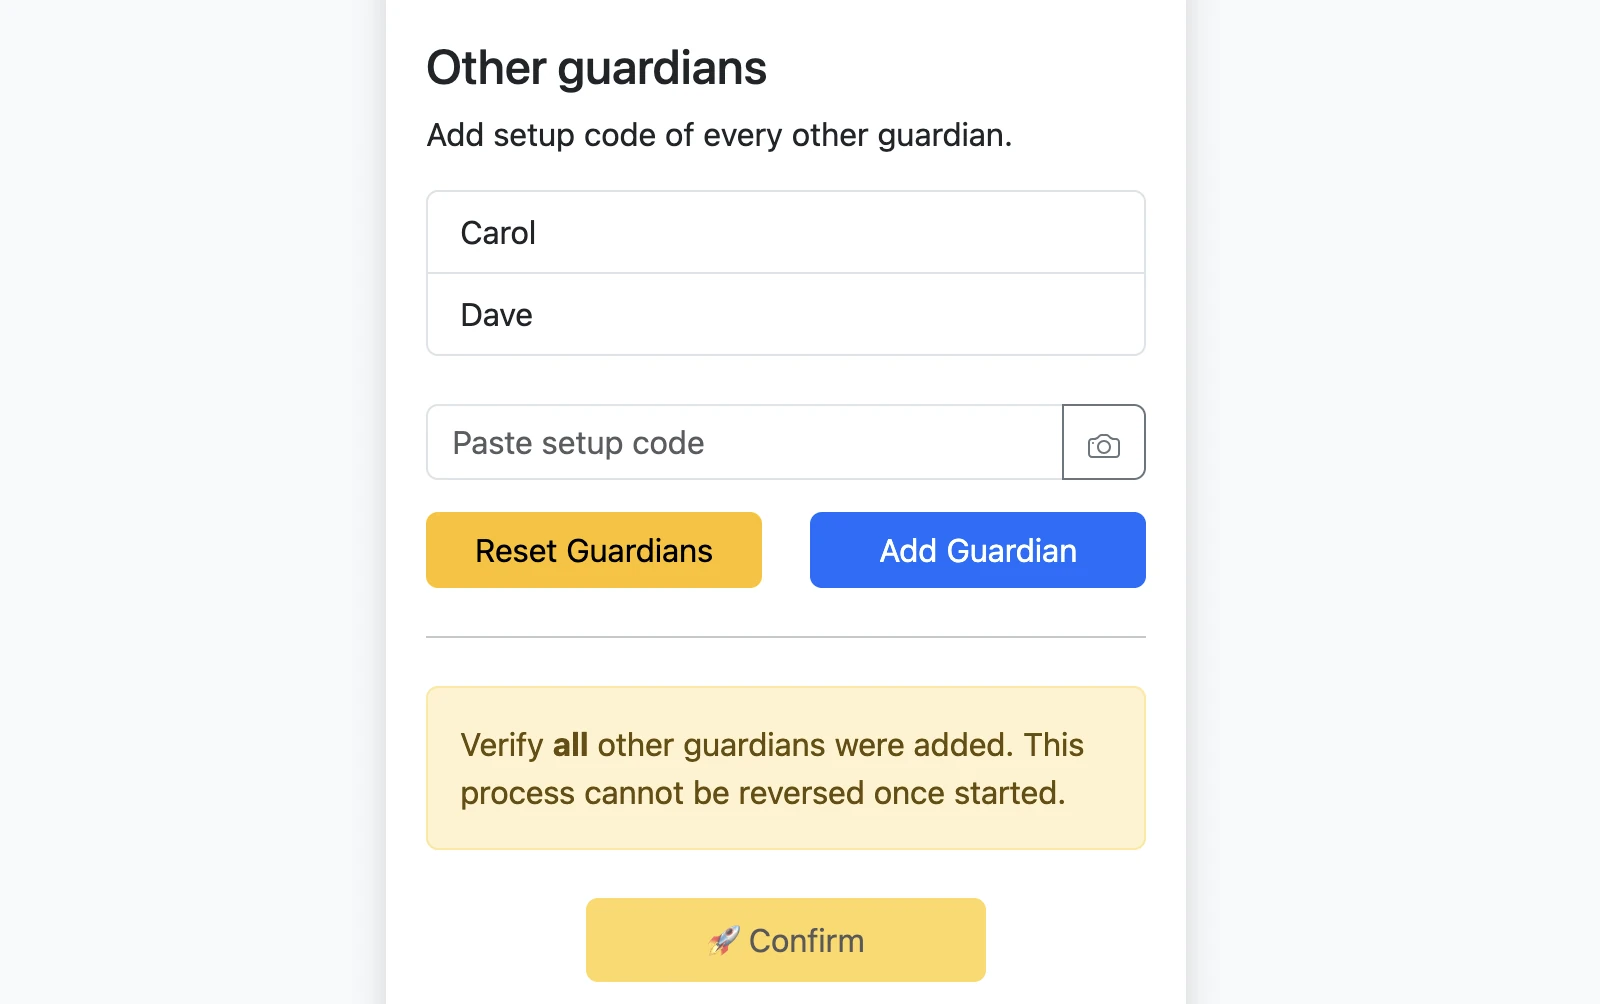
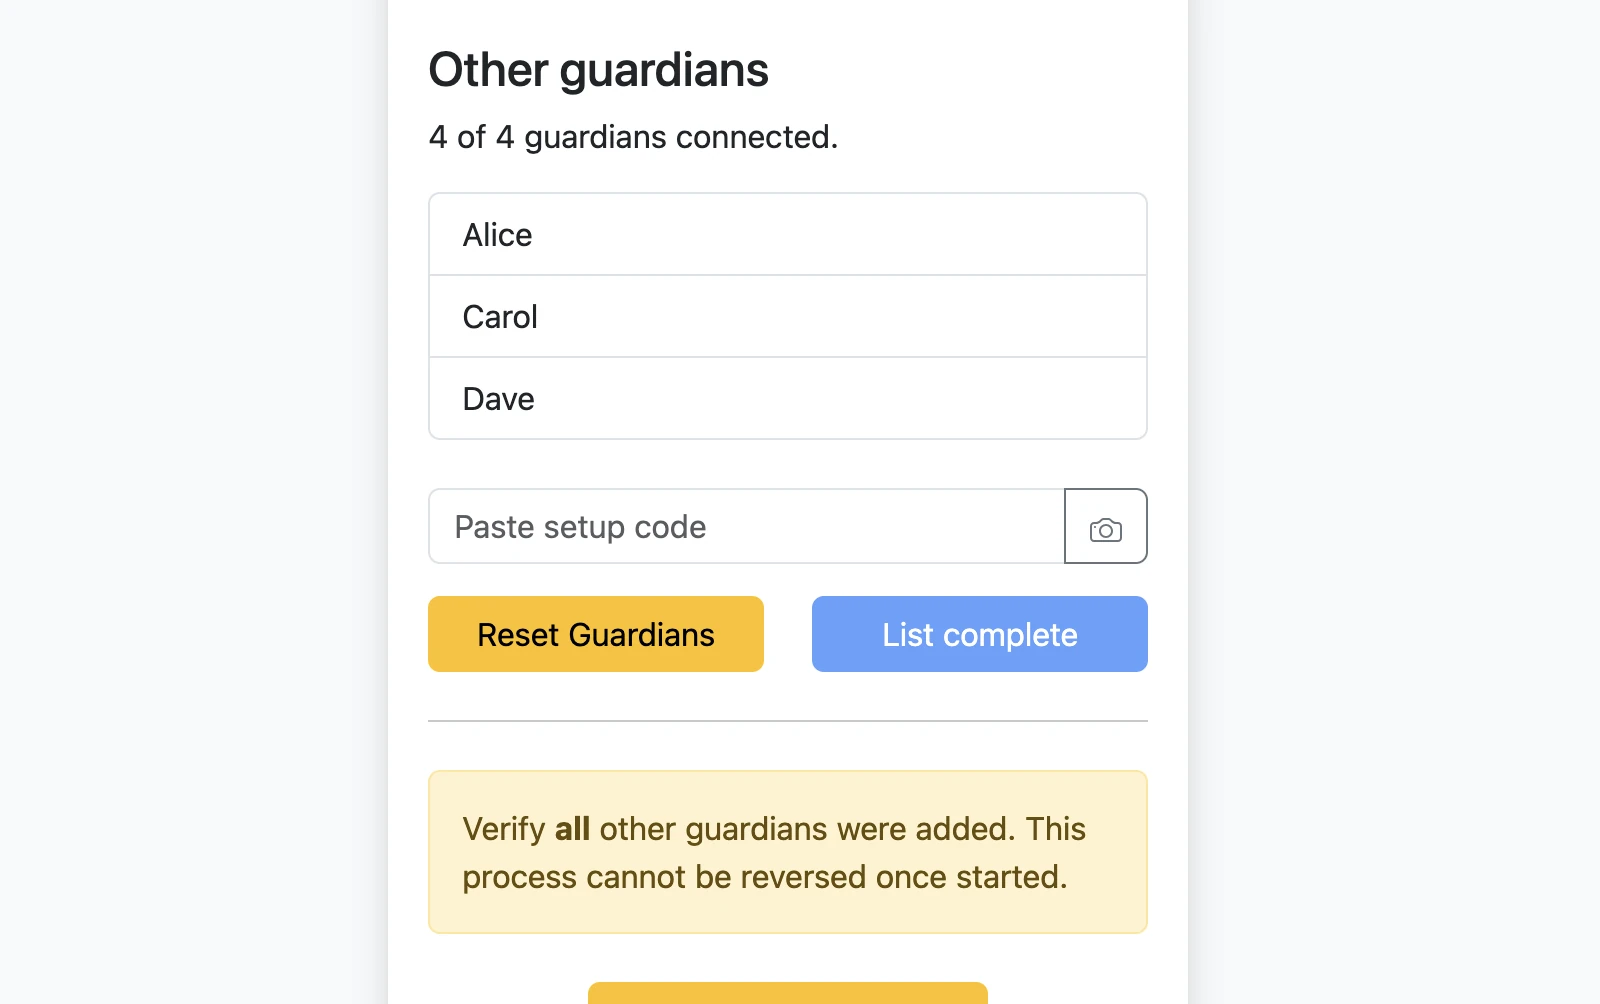
Each non-leader guardian still has to collect setup codes from every other guardian, not just the leader. Continue adding guardians until the full list is present and the ceremony is ready to confirm.
Once guardians start the final confirmation step, the ceremony should be treated as fixed. Verify the guardian list and the federation settings carefully before continuing.
3. Run key generation
Confirm on every guardian and let DKG finish
After the guardian list is complete, every guardian clicks Confirm. Fedimint then runs distributed key generation (DKG) and writes the initial federation configuration. Every guardian must stay online and responsive for DKG to complete successfully.
Wait for the first consensus session
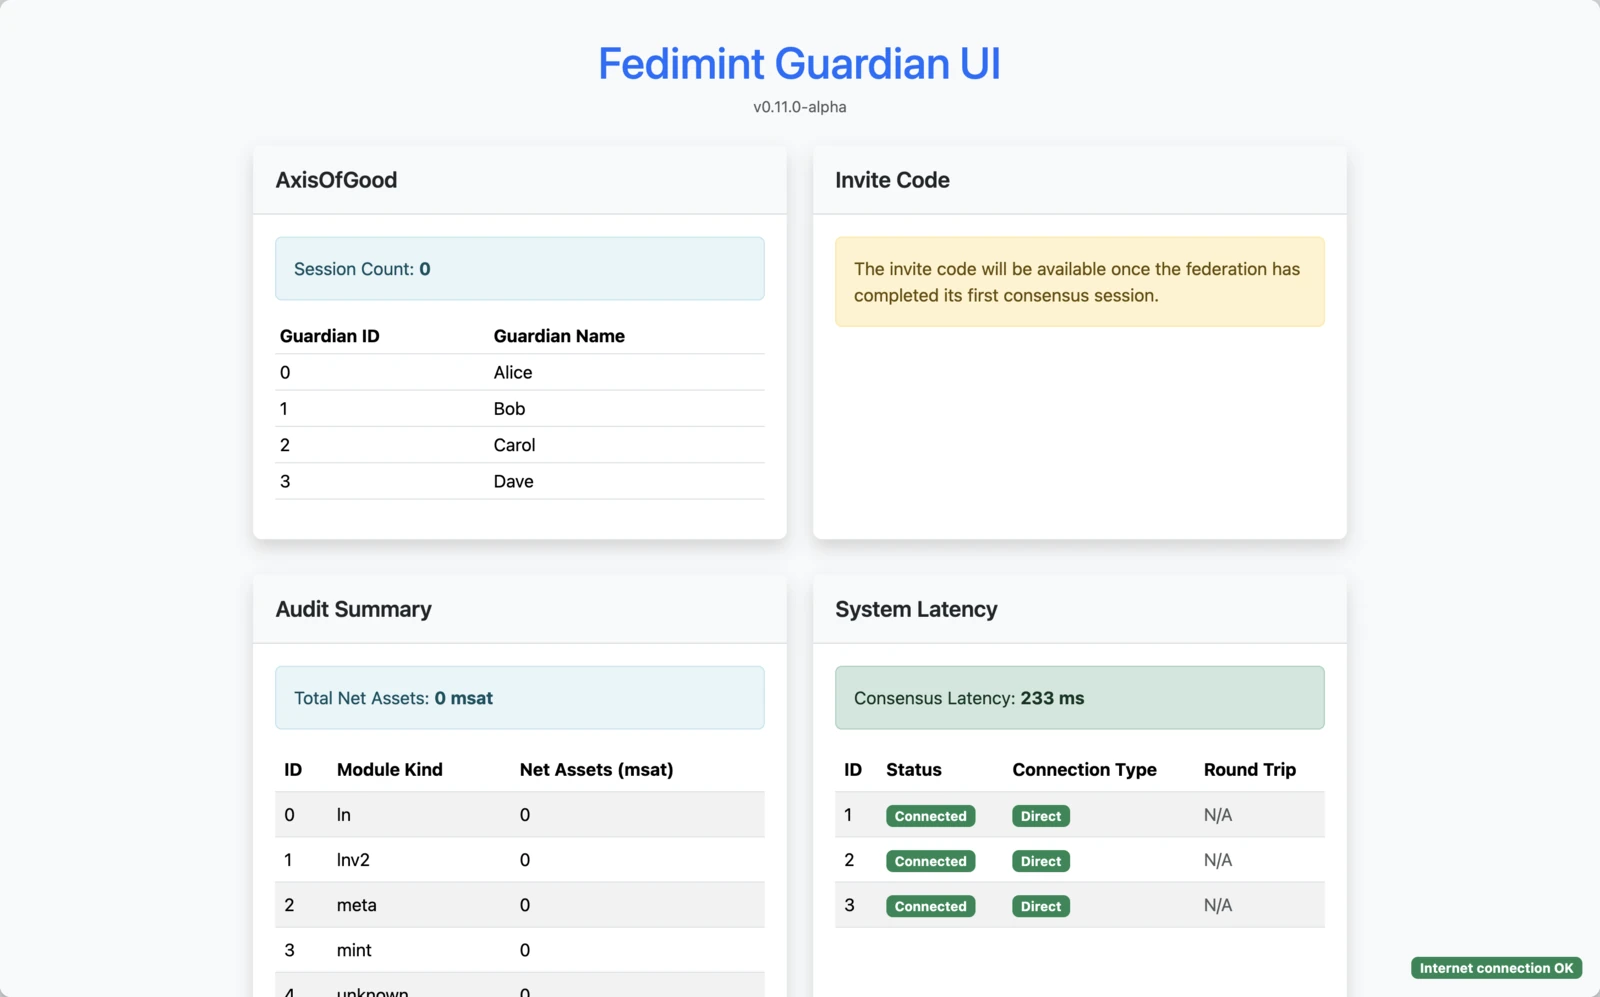
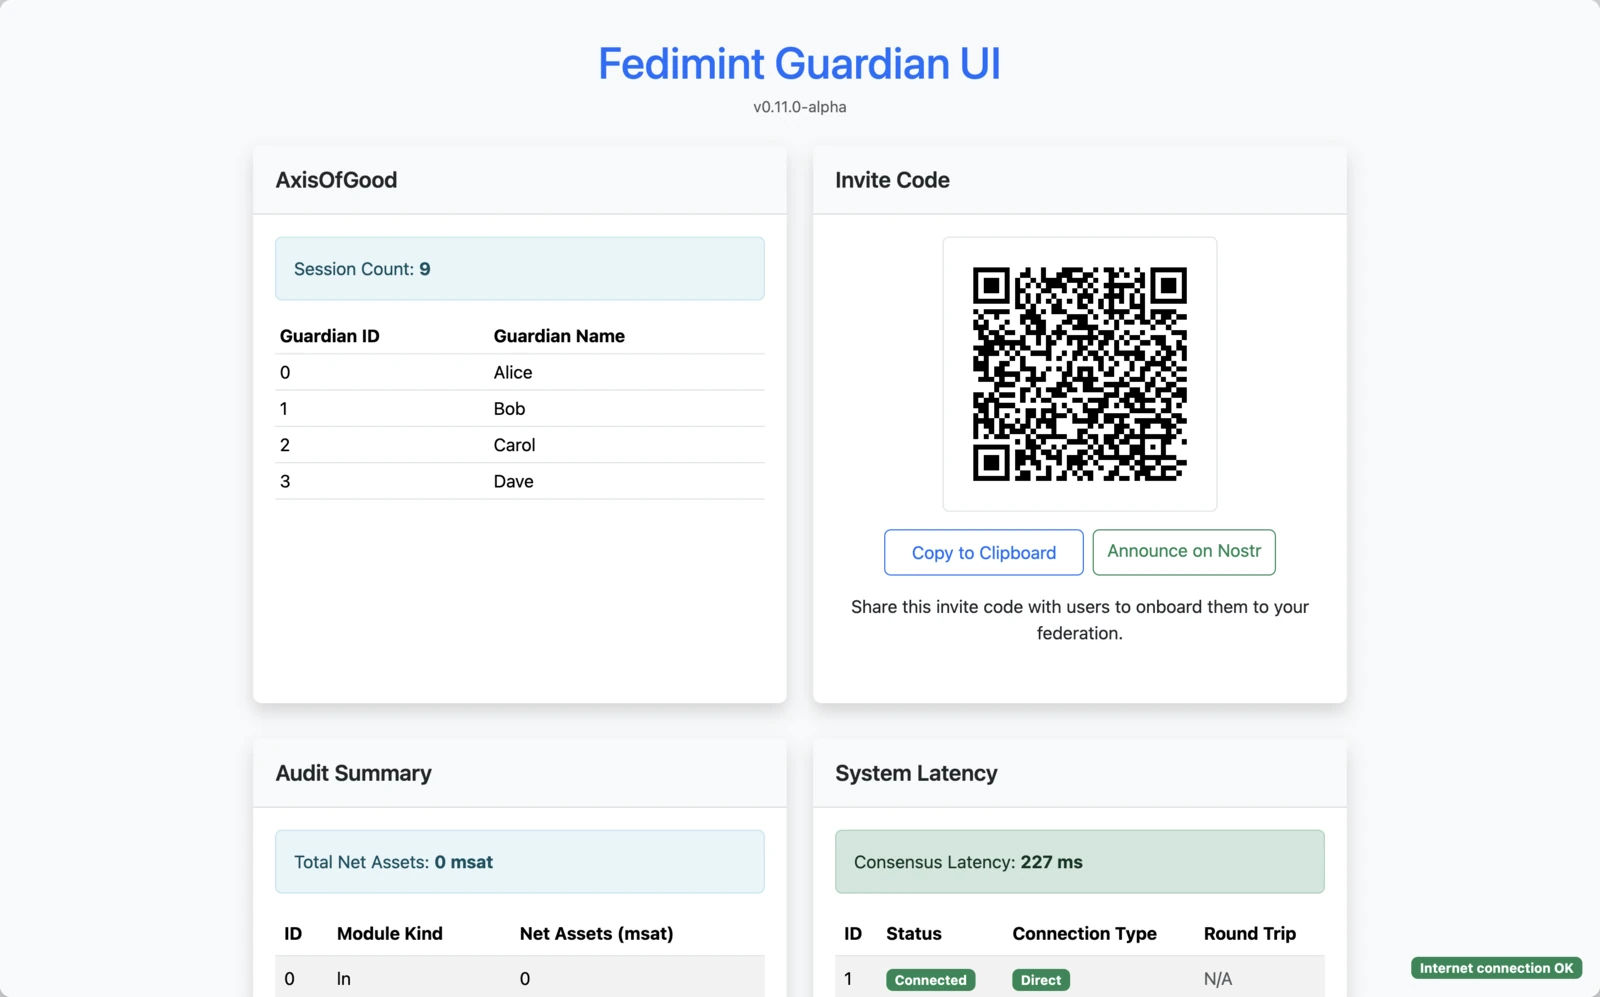
The dashboard appears before the invite code is ready. The invite code only shows up after the federation completes its first consensus session, which is usually a few minutes after DKG finishes. If you only see the placeholder message, wait and refresh the page.
If you use a local Bitcoin node, consensus will not start until the node is fully synced.
4. Next steps
Download your guardian backup
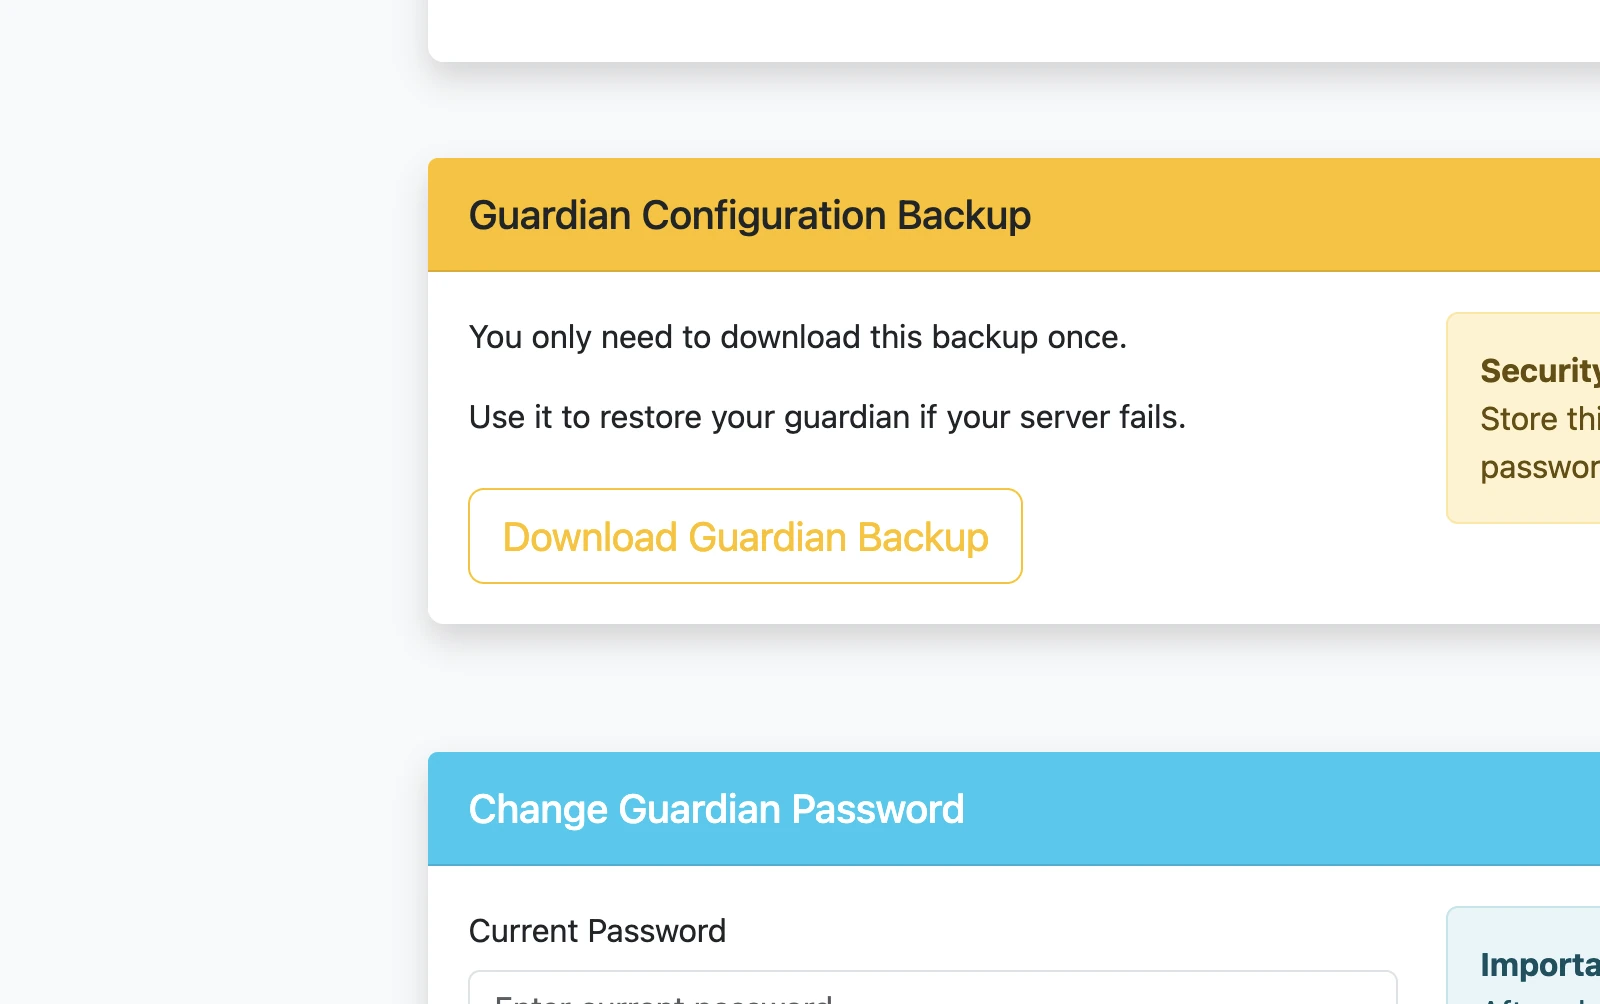
Every guardian should download the guardian backup once and store it securely. The backup is encrypted with the guardian password, so you need both the file and the password for recovery. Anyone who gets both can restore and run that guardian.
After the federation is live:
- Copy the invite code from the dashboard and share it with the users who should join the federation.
- Keep the guardian node online so consensus can continue and the federation stays healthy.
- If you enabled the Lightning module, register at least one Lightning gateway.
Register a Lightning gateway
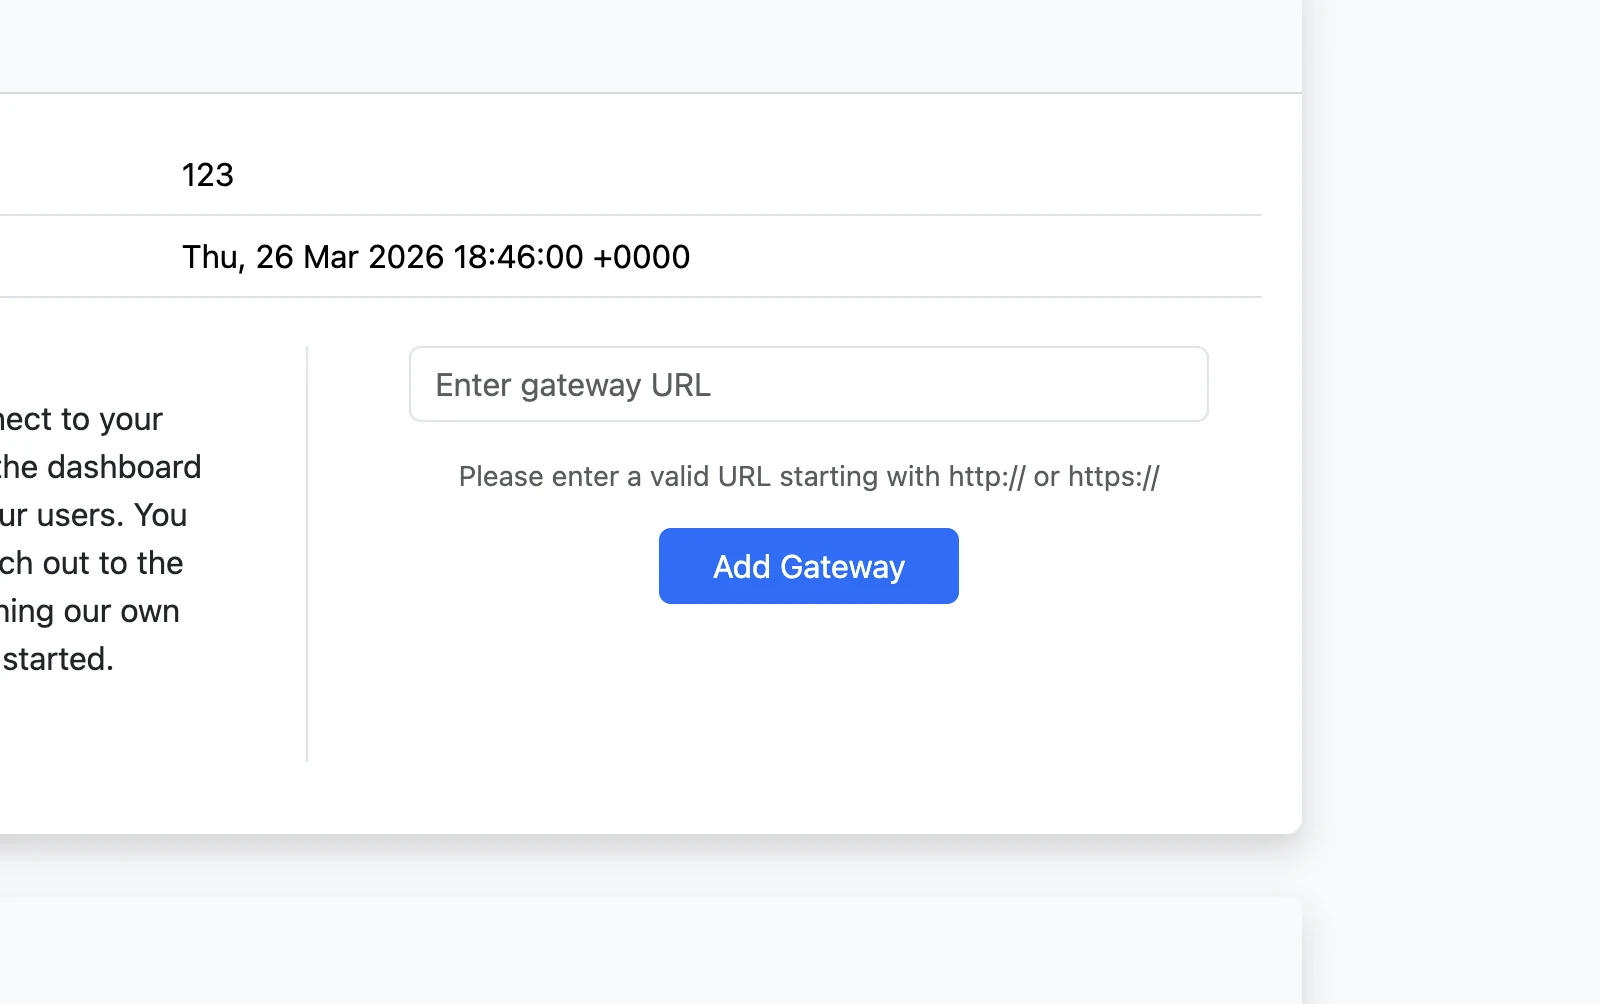
A federation can exist without a gateway, but users need at least one registered gateway for Lightning sends and receives. A gateway does not have to be run by a guardian. See the Lightning Gateway documentation for the next step.